Choose the Right Package
Choose by Windows, macOS or Linux on desktop. On Android, pick the APK that matches your device architecture and source.
View FlClash downloadsFlClash is a GUI client for Windows / macOS / Android / Linux. Follow these steps to import a subscription URL, update the profile, choose a node and enable proxy mode.
Before following the tutorial, confirm the installer source, package format, subscription URL and required system proxy or VPN permissions.
Choose by Windows, macOS or Linux on desktop. On Android, pick the APK that matches your device architecture and source.
View FlClash downloadsUse a Clash or Mihomo format subscription when possible. Importing by URL makes profile updates easier later.
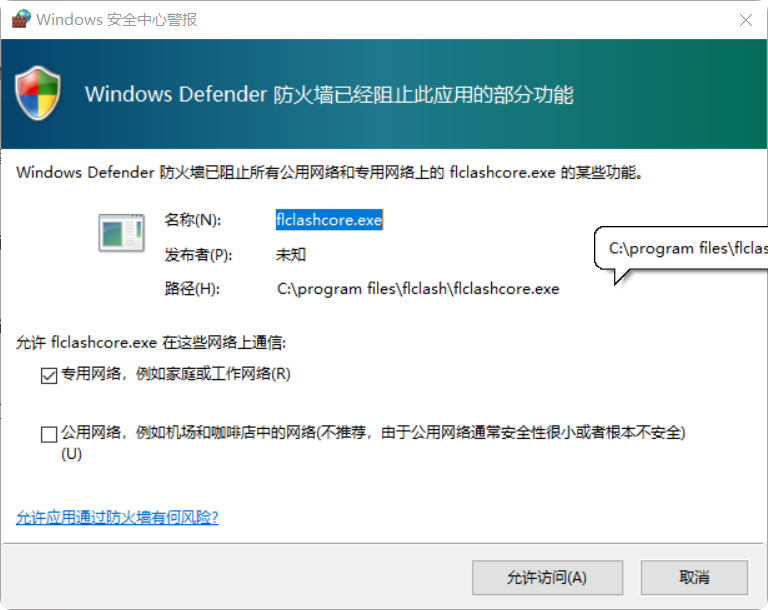
Subscription tutorialWhen starting proxy on mobile for the first time, allow the system VPN permission so app traffic can enter FlClash.
Permission guideFlClash supports several import methods. The URL workflow is the easiest to update later, while QR code and local file import are useful when your provider gives those options.
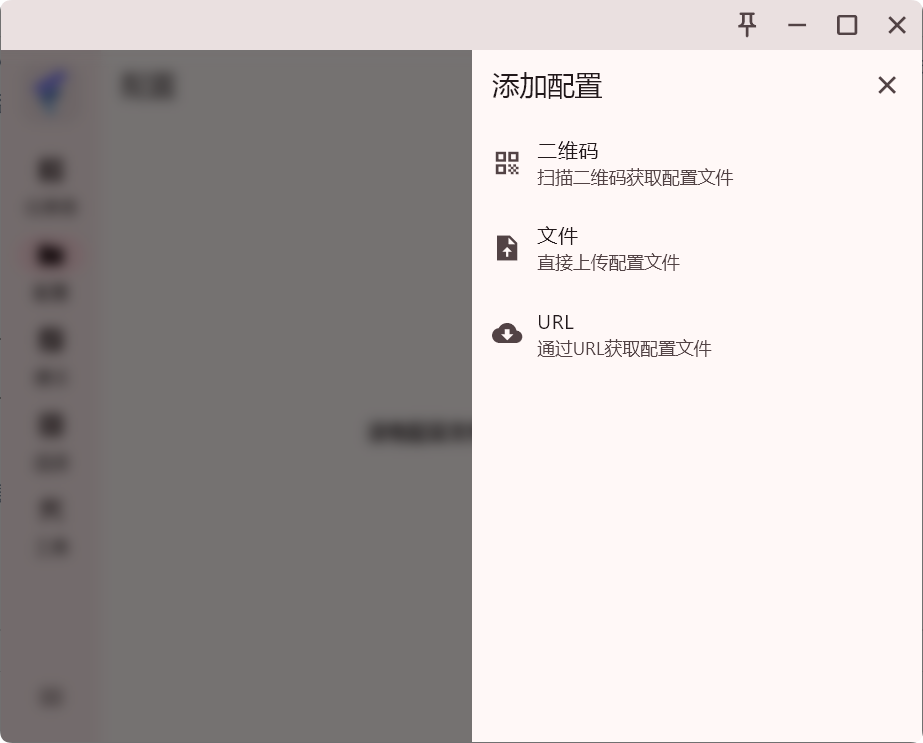
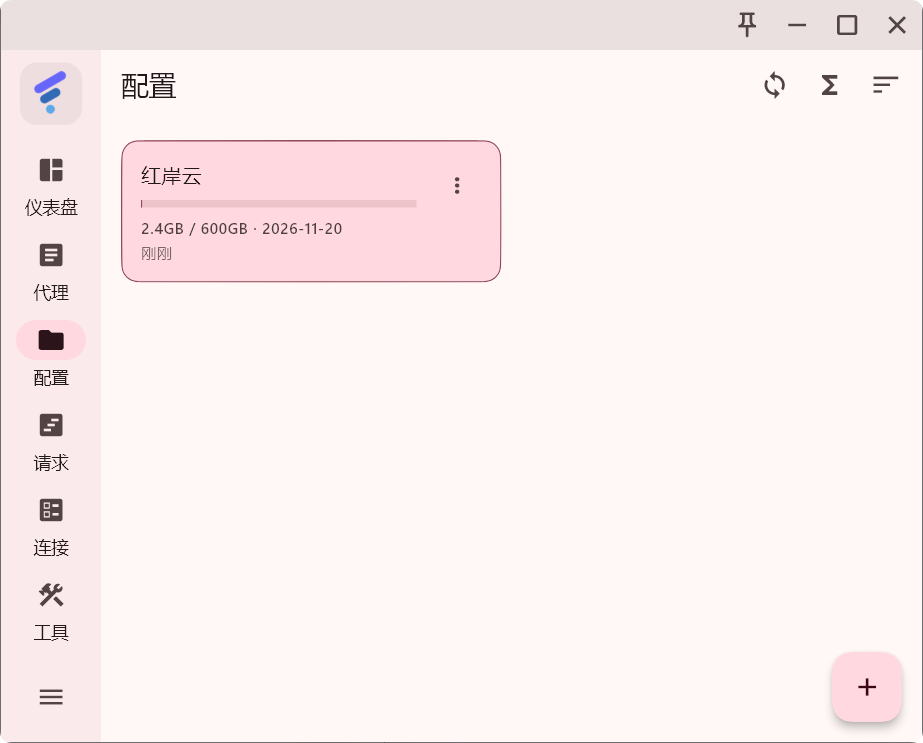
Nodes are the core of proxy access, so FlClash needs a subscription or profile before it can route traffic.
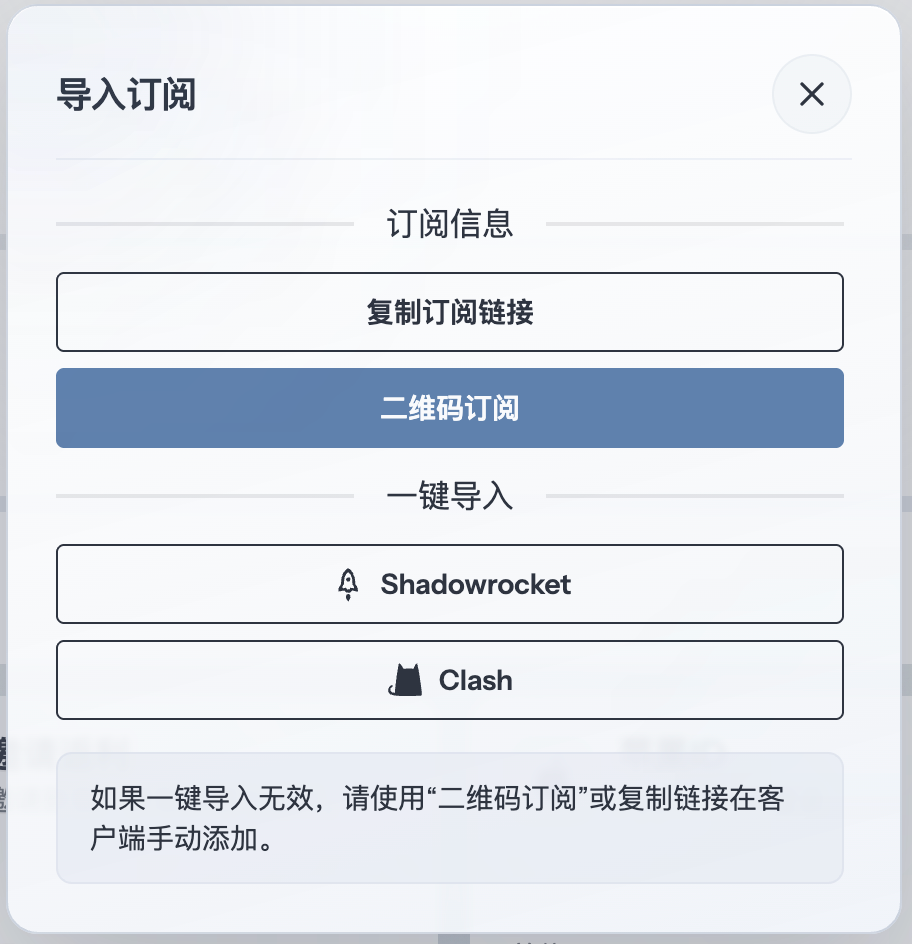
The recommended workflow is URL import: copy the subscription URL from your provider. The screenshots use Changlian subscription provider as the example.
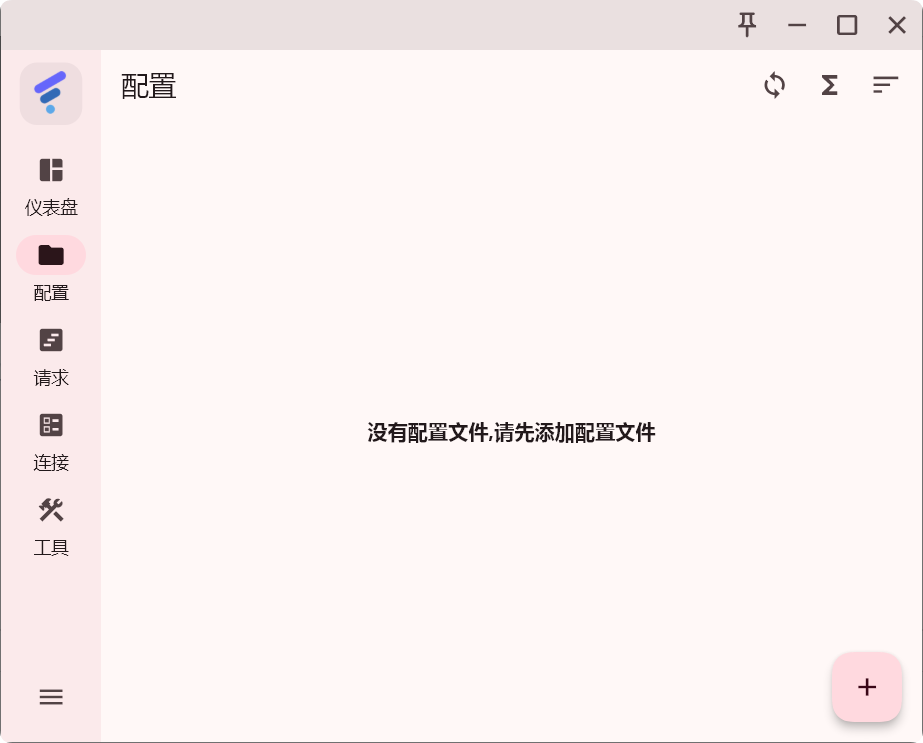
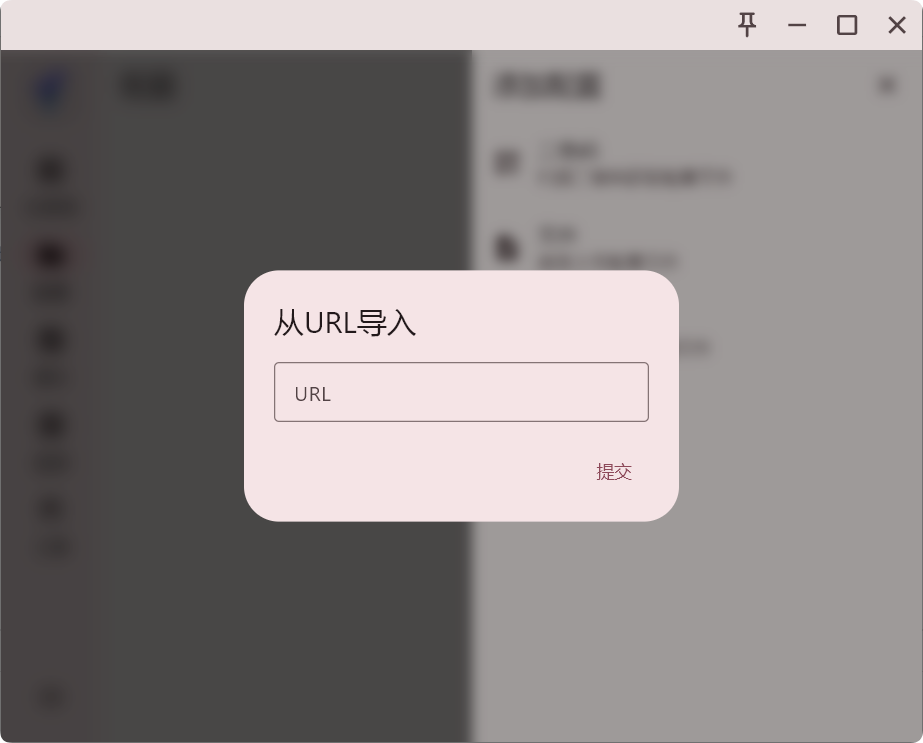
Open the profile, configuration or subscription entry in FlClash. Paste the copied subscription URL into the URL field, then save, download or import the profile according to the client prompt.
If the client also supports local files, use that only when URL import is unavailable or your provider explicitly gives a YAML file.
Open the proxy or policy group view and choose an available node. Pick a node based on region, latency and the service you need to access.
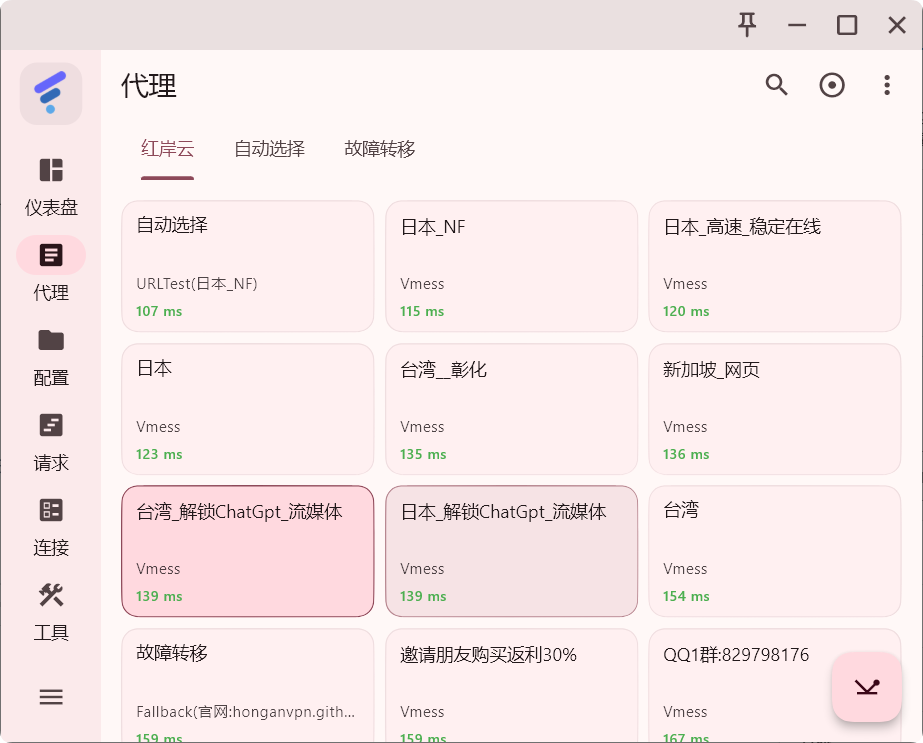
Enable the proxy switch shown in the screenshots. Desktop clients usually use System Proxy, while mobile clients may request VPN permission the first time.
After it is enabled, traffic is forwarded through the FlClash profile.

FlClash supports different routing modes for different situations. Keep Rule Mode for everyday use unless you are troubleshooting or need a fixed behavior.