Get subscription
Nodes are the core of proxy access, so Quantumult X needs a subscription or profile before it can route traffic.
The recommended workflow is URL import: copy the subscription URL from your provider. The screenshots use Changlian subscription provider as the example.
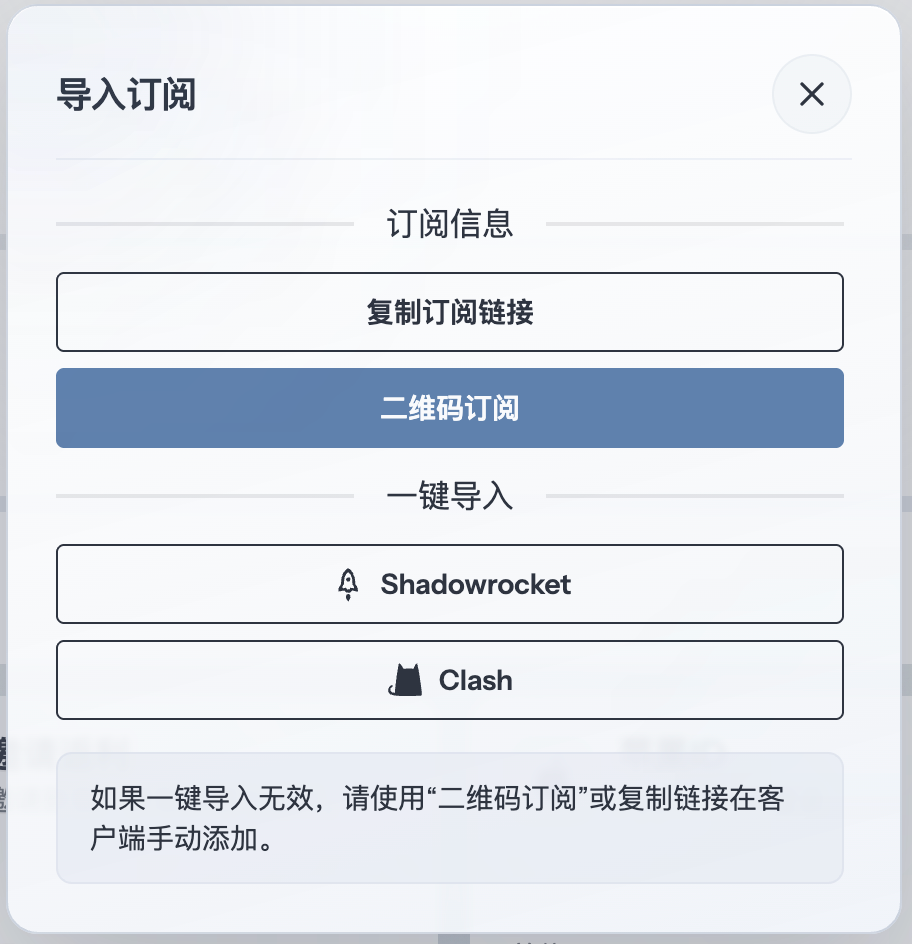
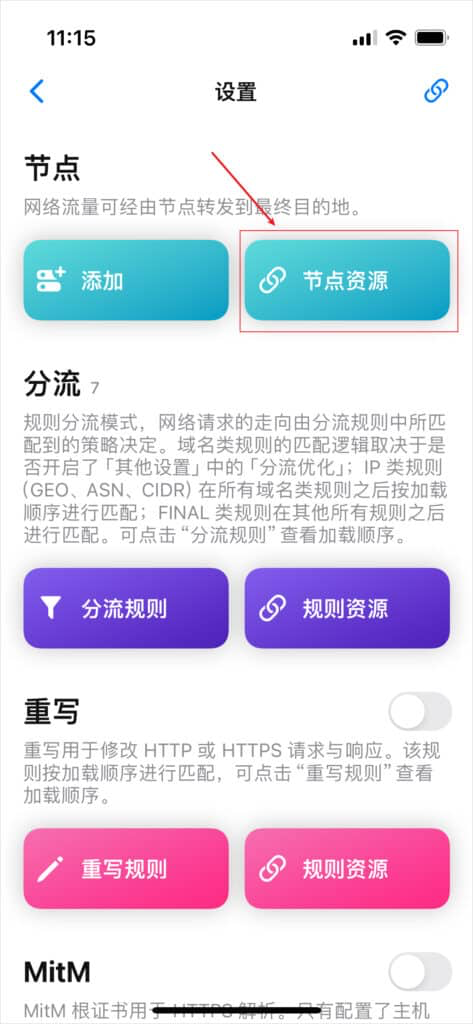
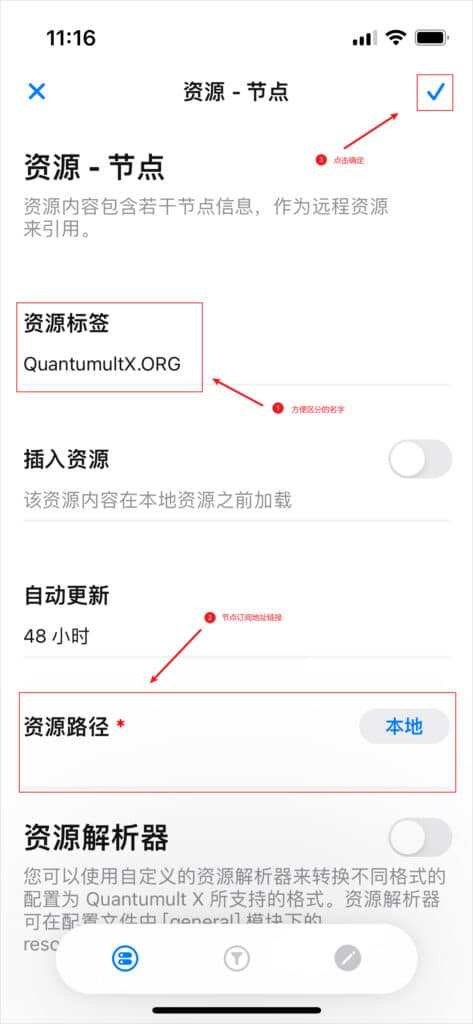
Add subscription
Open the profile, configuration or subscription entry in Quantumult X. Paste the copied subscription URL into the URL field, then save, download or import the profile according to the client prompt.
If the client also supports local files, use that only when URL import is unavailable or your provider explicitly gives a YAML file.
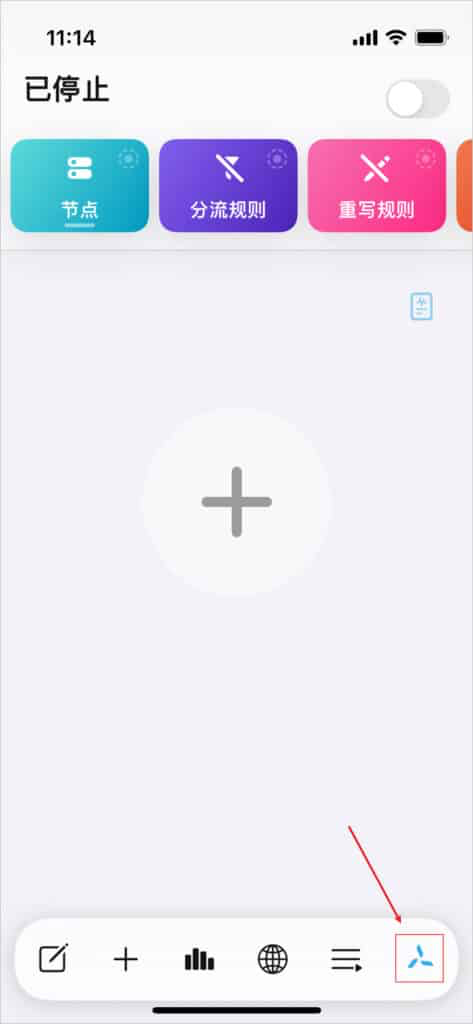

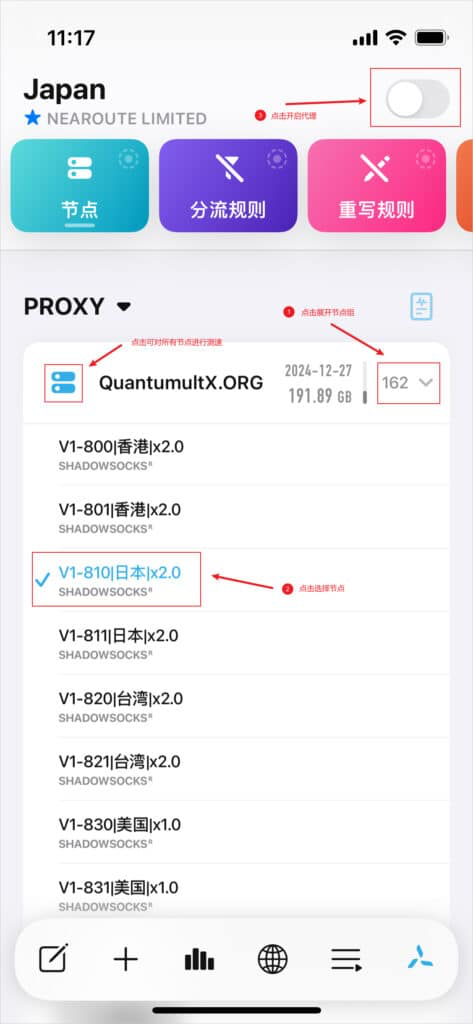
Enable proxy
Enable the proxy switch shown in the screenshots. Desktop clients usually use System Proxy, while mobile clients may request VPN permission the first time.
After it is enabled, traffic is forwarded through the Quantumult X profile.
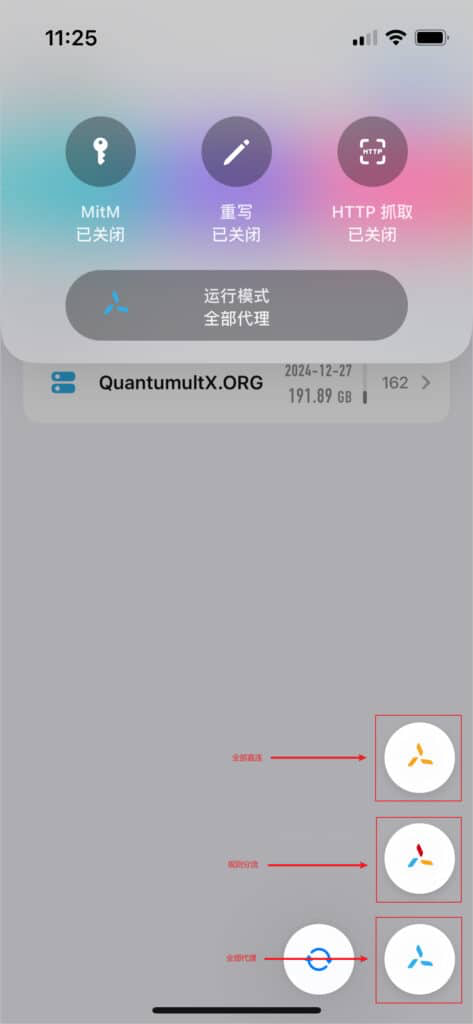
Running mode notes
Quantumult X supports different routing modes for different situations. Keep Rule Mode for everyday use unless you are troubleshooting or need a fixed behavior.
- Proxy sends all requests through the selected PROXY policy.
- Rule routes traffic according to rules and policies.
- Direct sends requests straight to the destination.